One of the things I didn’t spend too much time with at the beginning of the development of WiFi Explorer was filtering. As the tool matured, it was more than evident that some filtering capabilities were needed. Nevertheless, I didn’t want to make anything overly complex. Filtering had to be quick and easy to use, and more importantly, the syntax used to create filters needed to be “natural.” With these goals in mind, I’ve been working over the years on different ways to filter scan results in WiFi Explorer and WiFi Explorer Pro.
In WiFi Explorer, filters let you focus on a specific set of results to facilitate monitoring, troubleshooting or analysis. You can quickly filter scan results by network name (SSID), BSSID, channel, signal strength (RSSI), annotations, mode, vendor, device name, band, country code, security or encryption type.
Below you can find a cheat sheet with the most common display filters:

To filter scan results by:
Network name (SSID), annotations, vendor or device name: type the text in the Filter field. If you need to filter using an exact match, use quotation marks for the keywords, e.g. “ABC School”.
BSSID: type either :XX or XX: where XX is an octect of the BSSID you are searching for. You can also extend the text with more octets (e.g. XX:XX, XX:XX:XX) to search for more specific BSSIDs.
Signal strength (RSSI): type a comparison operator (<, >, <= or >=) and the signal strength level in the Filter field. For example, to display only the networks that have a signal strength greater or equal than -65 dBm, type >=-65. If you want to use percentage as units when filtering, type >=50%.
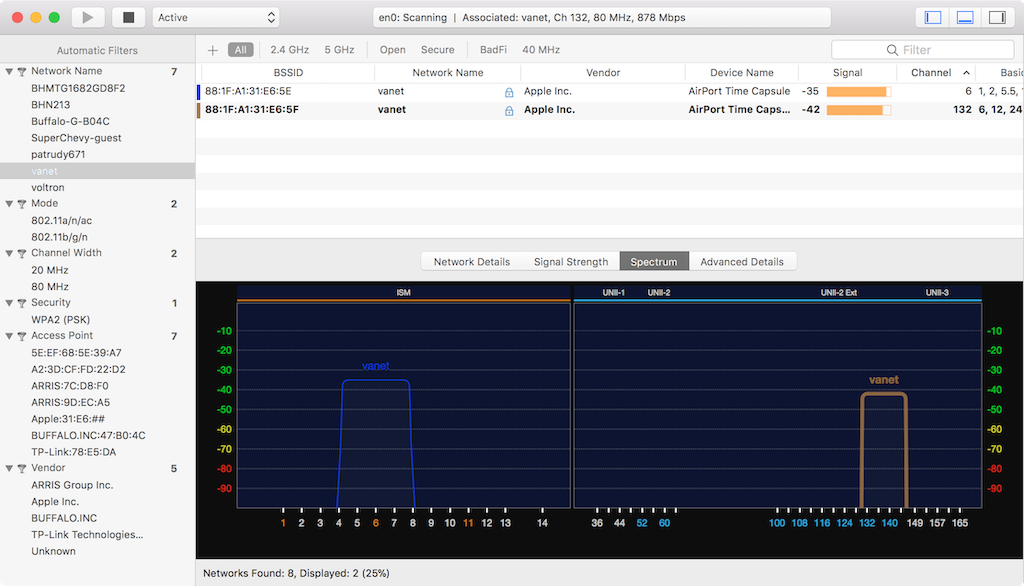
Channel number: type the channel number in the Filter field.
Band: type the band (e.g. 2.4 GHz, 2.4ghz, 24ghz, 5GHz) in the Filter field.
Mode: type the letter or letters that identify the mode: a, b, g, n, or ac. You can also prefix the letter(s) with 802.11, 80211 or just 11. For example, type 11g to display only networks that support 802.11b, or ac to display only networks that support 802.11ac.
Security or encryption type: enter the acronym for the security or encryption type in the Filter field. For example, type WPA2 to display only networks that are configured with WPA2.
Filtering using multiple fields
You can filter on multiple fields by separating the keywords using “,” (OR) or “&” (AND). For example, if you want to filter networks so that only 2.4 GHz networks with a name (SSID) starting with School are shown, simply enter 24ghz & School in the Filter field. If you want to display only networks on channels 1, 6, or 11, type 1, 6, 11 in the Filter field.
Negating a filter
You can negate a filter by simply prefixing it with “!”. For example, to list all networks that do not have the word School in their names, simply enter !School.
Quick filters
You can use pre-defined filter controls to quickly display 2.4 or 5 GHz networks, as well as secure or open networks only.

In WiFi Explorer Pro, you can also create custom filters by clicking the ‘+’ button in the Quick Filter bar or by going to WiFi Explorer Pro > Preferences > Filters. Custom filters are automatically added to the Quick Filter bar and can be selected the same way you select pre-defined filters.

Automatic filter controls
Additional filters are automatically generated based on the scan results. These filters can be chosen from the left side panel by selecting one of the items under each of the following categories: Network Name, Mode, Channel Width, Security, Access Point and Vendor. You can show or hide the side panel by clicking the left icon in the Show/Hide option of the WiFi Explorer Pro toolbar.
Filtering by signal strength using keyboard shortcuts
Another way to filter scan results is by using keyboard shortcuts to filter networks by signal strength. By using a combination of the Option key and one of the keys representing the numbers from 0 to 9, or the keys below (Q, W, E, …, I, O, P), you can set a desired signal strength threshold in 5 dB increments. If you set a filter using one of these shortcuts, you can clear it by pressing the Escape key.

For example, to display only the networks with signal strength equal or greater than -70 dBm, press Option-7. Similarly, to display only the networks with signal strength equal or greater than -75 dBm, press Option-U (the letter U is located below and between 7 and 8 in the keyboard, therefore it gives you the mid value between -70 and -80 dBm). The same applies if using percentage (%) as units for signal strength: 1 for 10%, Q for 15%, 2 for 20%, etc.
When you filter by signal strength using these keyboard shortcuts, a legend appears at the bottom of the window indicating the signal strength level being used to filter the scan results.

Final thoughts
Keeping a simple, “natural” syntax is great for quick and easy filtering, however, it has some drawbacks. For example, not every piece of information can be used for filtering. Also, there are cases where filters will not give you the expected results, not because the implementation is wrong, but because a simpler filter might not be as effective as one that is more elaborated (for example, filtering using the letter ‘a’ will give you all 802.11a networks, but not the networks containing an ‘a’ in their name). Nevertheless, I believe the filtering capabilities in WiFi Explorer offer great flexibility and are good enough for your every day use. There is of course room for improvement, and better filters will be added as the need arise.
I bought on my iMac your app WiFi Explorer Lite. I thought I could change the Channel number into another one. if so, how do I do that?
You must change the channel settings in the access point or wireless router. Please refer to your access point or wireless router’s user manual for instructions on how to change the channel your network is using.
GM Adrian and team, for some reason the comma as a separator for multiple fields is not working on my Mac, I tried to use a filter to see 1,6,11 and it is not working
Disregard, I worked around it using OR, like 2 OR 3 OR 4 etc
Thanks Adrian and Team for this amazing tool