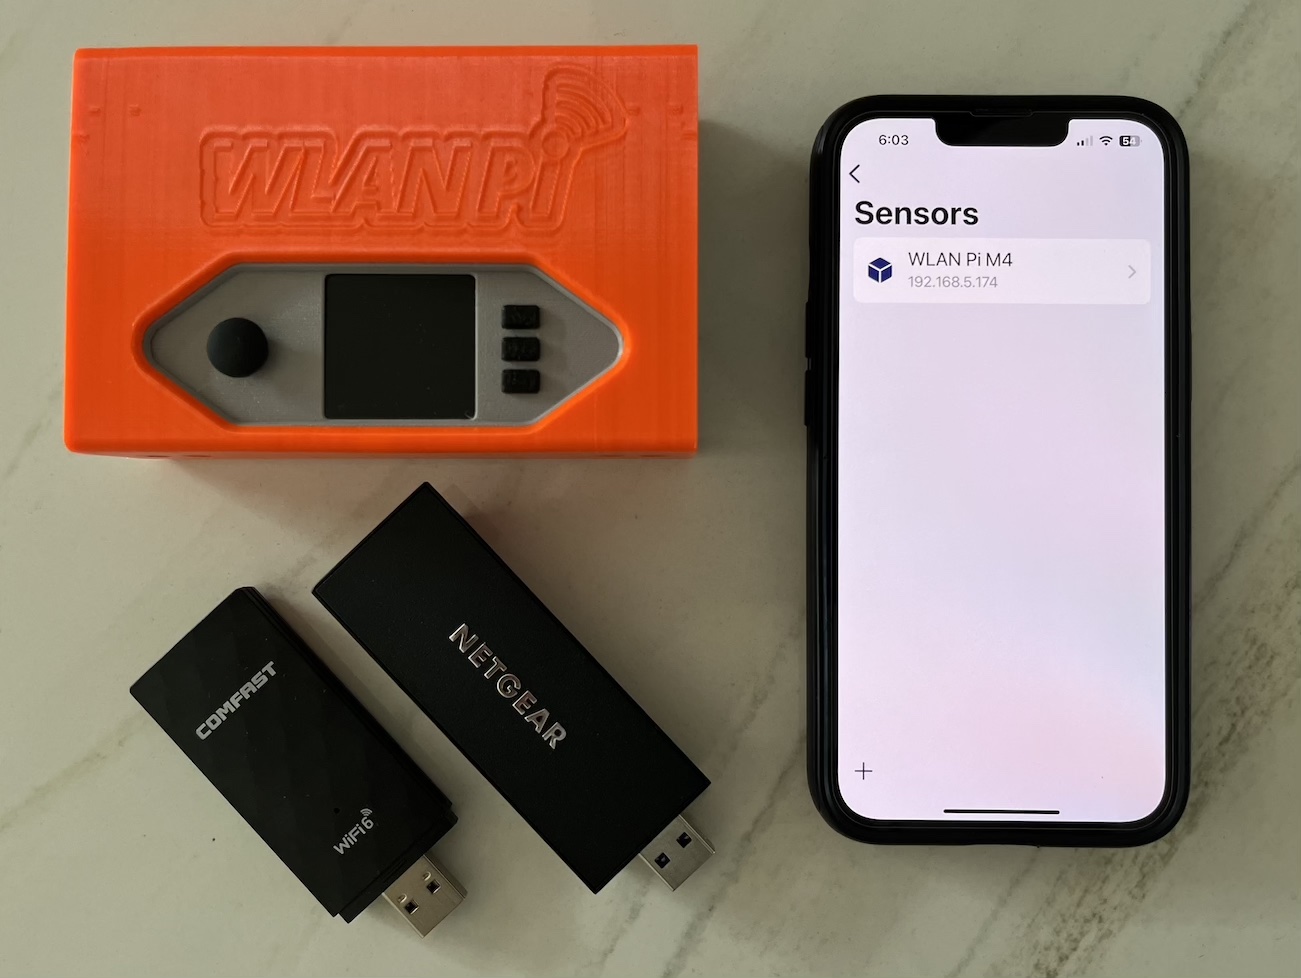
Airtool Pi allows you to effortlessly capture Wi-Fi frames from your iPhone or iPad using Linux-based remote sensors such as the WLAN Pi. It seamlessly connects to the sensor over SSH, running a custom script that stages the WLAN interface, sets the channel and channel width, and launches tcpdump to start the capture. The captured frames are then sent to Airtool Pi and saved locally on your iPhone or iPad, all with just a few simple steps.
Until recently, Airtool Pi could only capture using a single WLAN interface. However, we have released a new version, Airtool Pi 2.0, that lets you capture up to four channels simultaneously on the same remote sensor, a significant upgrade from the previous version. This latest version also supports 320 MHz channels and uses PcapNG as the file format, allowing Airtool Pi to include information about the interface used to capture each frame.
In this blog post, we will show you how to use Airtool Pi to capture multiple channels simultaneously using a WLAN Pi or remote sensor with multiple WLAN adapters.
Capturing on multiple channels
To capture on multiple channels simultaneously, follow the steps below:
1. Launch Airtool Pi. If this is the first time using the sensor, add it by tapping ‘+’ and entering an alias (name) and the sensor hostname or IP address. Also, enter the SSH username and password. Then, click “Save.”

2. Choose the sensor and configure its adapters. You can use up to four adapters, which means you can capture on up to four channels simultaneously. Switch the “Use Adapter” toggle on for each adapter you want to use and configure its channel and channel width (supported channel widths automatically adjust depending on the selected channel).

3. Start the capture. After configuring the desired adapters, tap “Capture.” Airtool Pi will automatically stage the adapters and start capturing on them simultaneously using dumpcap.

Airtool Pi uses dumpcap to capture on multiple adapters simultaneously, but unfortunately, dumpcap doesn’t guarantee the correct order. However, Airtool Pi automatically ensures that frames are saved in order, so you don’t have to worry about that.
After stopping the capture, a new entry will be listed in Captures. You can tap on the latest entry to share the capture file via AirDrop or email or save it to Files. When opening the capture in Wireshark, you will note that each frame is annotated with the corresponding interface from where it was captured.
Mixing and matching adapters
In previous versions of Airtool Pi, when using multiple adapters, you needed to specify the adapter you wanted to use by entering the adapter’s interface name (e.g., wlan0). However, in this new version, Airtool Pi assumes Adapter 1 corresponds to wlan0, Adapter 2 to wlan1, and so on.
If you use adapters of the same type or with the same capabilities, it doesn’t matter which one is which. However, when mixing adapters, you may need to log in to the sensor and determine the interface name for each adapter to correctly choose the corresponding adapter number in Airtool Pi.
This is particularly important if one or more adapters don’t support the same bands as the others. For example, if you want to capture from channels 1 (2.4 GHz), 36 (5 GHz), and 37 (6 GHz), you need to make sure that the adapter you configure in Airtool Pi to capture on channel 37 does support the 6 GHz band.
Conclusion
In this blog, we showed you how to use Airtool Pi to capture Wi-Fi frames on multiple channels simultaneously using up to four adapters on the same WLAN Pi or remote sensor. Send us a message if you have any questions or find an issue.


Leave A Comment